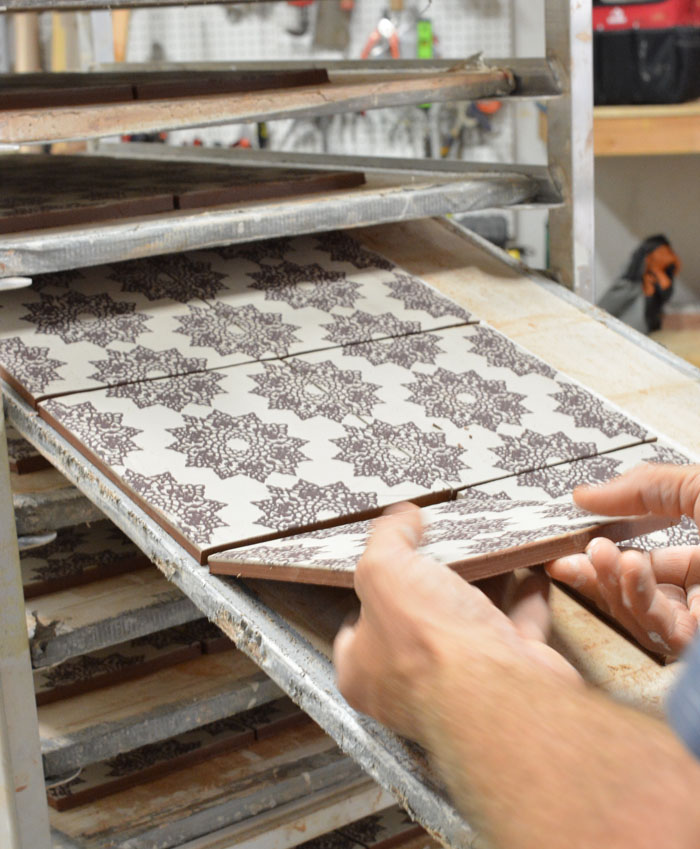
This new fabric was inspired by a climbing vine with winding leaves reaching towards the sunlight, complete with sketched leaves on its stem. And I’m thrilled to unveil it now as part of my latest pattern: Summer Vine!
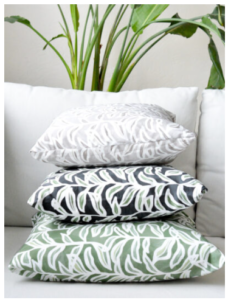
Years ago I shared the steps for creating pocket pillow covers without zippers. Once you master this simple method you can make seasonal-specific pillow cases!
This method works for any square or rectangular pillow. I recommend sewing loosely at first – tighten up corners and seams later!
Fabric should be wide enough to cover your pillow insert with some excess on both ends for the pocket opening, such as eight extra inches around each side (side 3 and 4 in this example) that allows fullness as well as wrapping around to form an overlapping pocket opening. Sides 1 and 2 should be cut to 22″ long to leave an inch extra fabric around top and bottom edges of pillow.
Start by hemming the edges of sides 1 and 2, creating a clean edge at your rear pocket opening.
Before turning your fabric upside-down with its pattern facing downward, place a pillow insert on it and wrap the rectangular piece of fabric around to form your pocket. Determine how much overlap there should be for your pocket before taking care to pin top and bottom of its opening with safety pins.
Before sewing the cover, I like to lay the pillow insert back down again on top to check on its alignment with sides 3 and 4, making sure they will fit within its dimensions when completed. This way I know when finished they will fit nicely within its covers.
Sew sides 3 and 4 to form the pocket. Once finished, turn over your fabric with right side out and stitch sides 1 through 6 together to complete it. Fill up your new pillow cover by stuffing with insert; if necessary tighten edges or corners with sewing machine to tighten fit.